
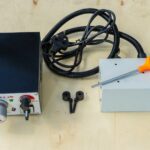
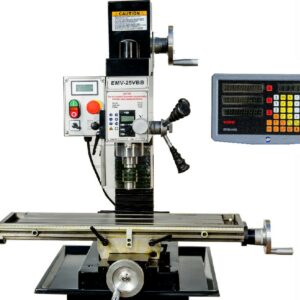
Powerfeed for small milling machine

£229.17
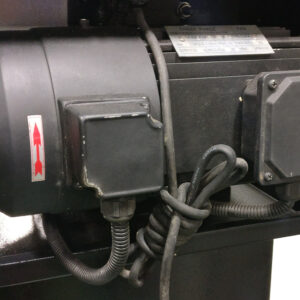
Select Currency:The powerfeed sits on the left hand side of the X axis and drives the leadscrew at the speed you want. With this you will be able to get that fly cut surface of dreams and save on elbow grease in the process.
- Description
- Additional information
- Reviews (0)
Description
Nothing make milled parts look more professional than the texture imparted by a steady constant feed rate. This may be difficult to acheive by hand without years of practice and patience.
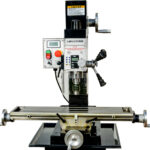
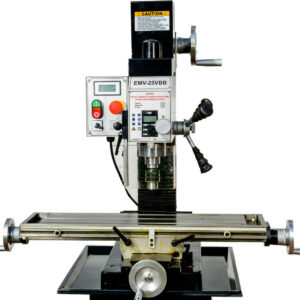
Worry not, we have just the thing for the EMV-25VBB. Our powerfeed works like a charm and installs really easily.
The powerfeed sits on the left hand side of the X axis and drives the leadscrew at the speed you want. With this you will be able to get that fly cut surface of dreams and save on elbow grease in the process.
Usual 1 year warranty applies to this product.
Here is how easy it is to install:
Step 1:
Remove the left side handle by undoing the nyloc nut. The mills’ tool kit has the spanner you need inside. With the nut and washer off, the handle will slide off. If it is a bit stiff, gentle tap it with a rubber mallet of better yet, remove using a gear puller.

Step 2:
Do not lose the drive key. It may be loose in the key slot. We recommend you rotate the lead screw such that the slot points up.

Step 3:
Now you can screw in the two black screws and spacers into the two threaded holes on either side of the lead screw. No need to remove the bearing mount that the leadscrew passes through.

Step 4:
The heads of the screws will be put through the key hole shaped cutouts on the body of the powerfeed. Line up the hole for the leadscrew and the key slot and then rotate the power feed body to line up the screws.
Step 5:
At this point, you will need to push the powerfeed all the way in. However due to manufacturing variations of the bearing block on the table, you may find that the powerfeed does not sit against the spacers, instead it clouts the bearing block. If this is the case, remove the power feed and pad the spacers out a bit with shim or washers.


Step 6:
With everything sat nicely, you then remove the two bungs on the back of the powerfeed unit and tighten everything up using the included allen key.

Additional information
| Weight | 5 kg |
|---|
Be the first to review “Powerfeed for small milling machine”
You must be logged in to post a review.


Reviews
There are no reviews yet.